Townsend Rock Turntable Motor Supply Fitting Instructions
Removing The Original Motor
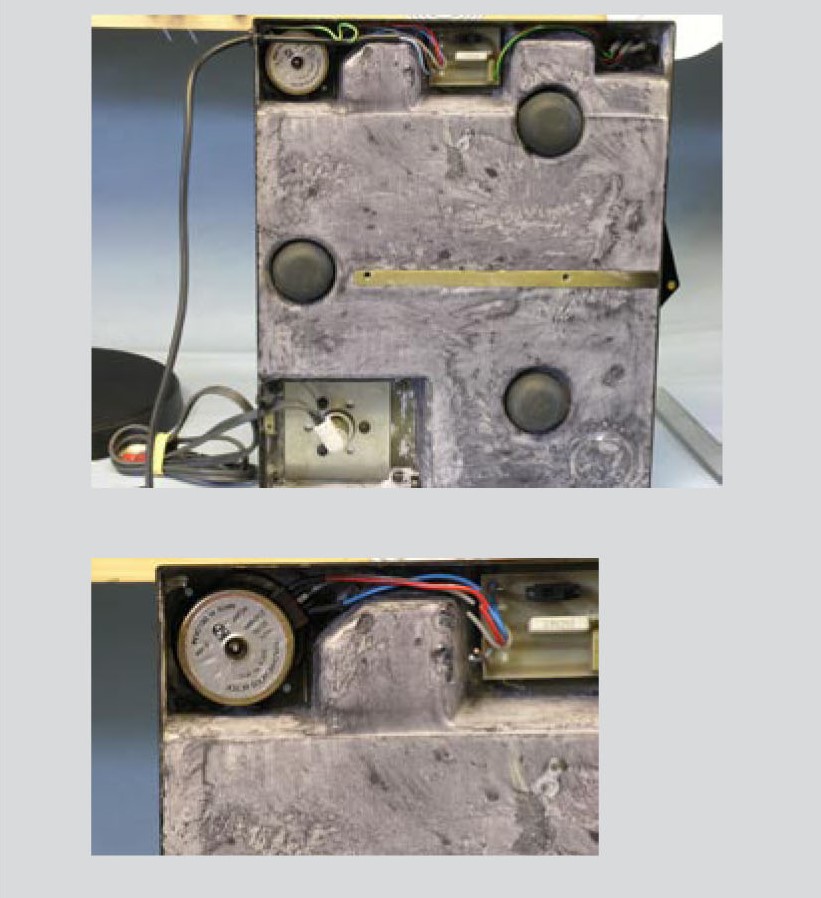
- Remove bottom motor cover by unscrewing Allen bolts in side of plinth.
- Unbolt 2 screws on topside either side of motor to remove motor retainer.
- Remove mains wiring.
- Squeeze cable clip on the inside with a pair of pliers and push outwards to remove the mains cable.
- Cut motors wires.

Remove Pulley
- The Pulley is either glued on or press fitted.
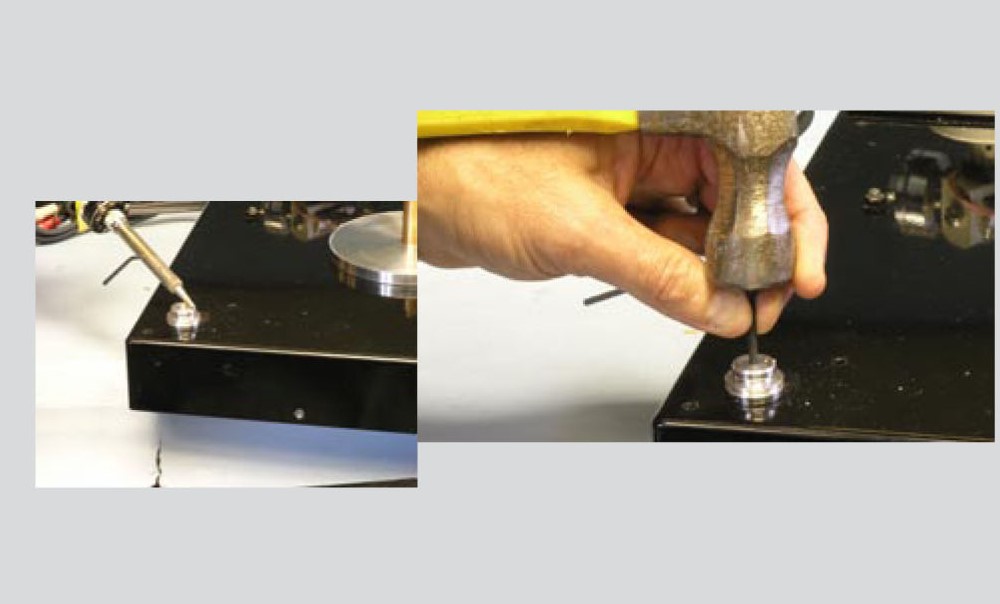
- To remove it, heat the pulley with a soldering iron and plenty of solder. Immediately tap the motor spindle downwards as shown in photo using an M3 bolt or old 3mm drill bit.
- The old motor should fall off.

Fitting The New Motor
- You will only need to hold the motor using one machine screw. The motor plate should be removed as it is not required if the motor is fitted in the old motor position
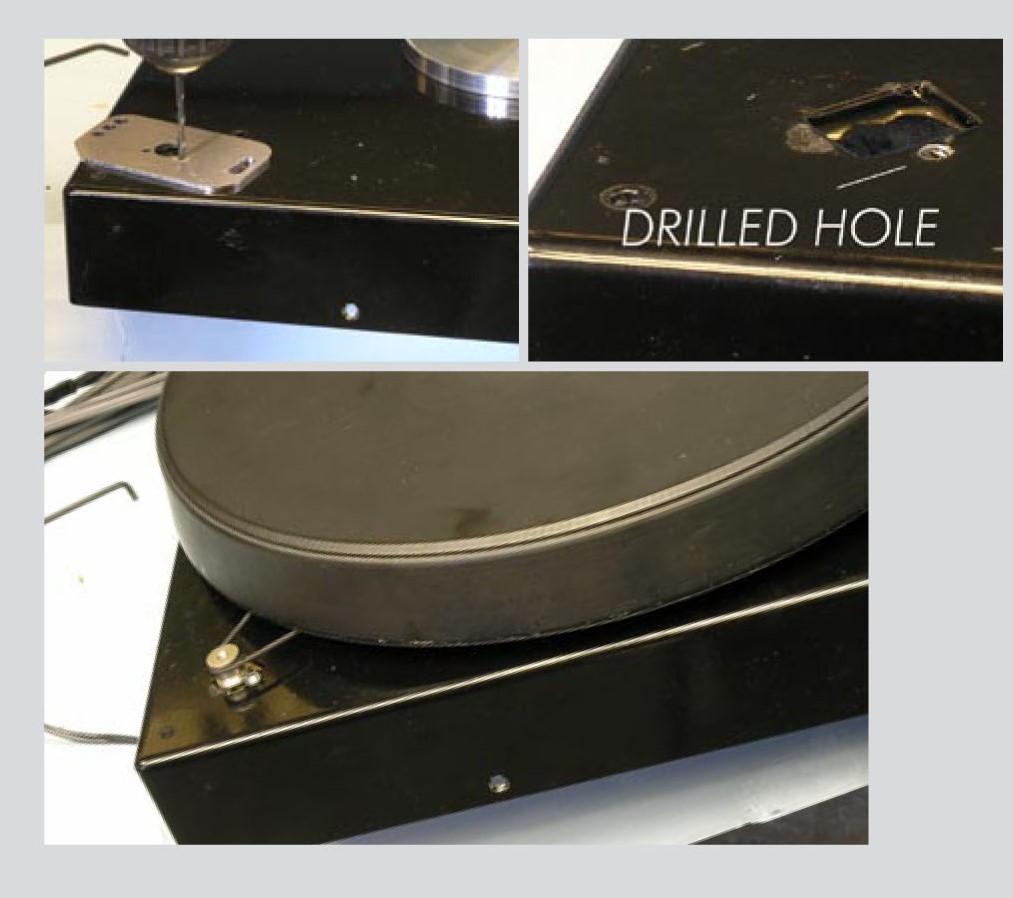
- Use motor plate as a template to mark and drill one 3mm diameter hole in position shown.
- Fit the motor using a Phillips screw with an O ring under the head – the motor should have sufficient friction to maintain its position. If it doesn’t then drill another hole for a 2nd bolt fastening.
- If you wish to adjust belt tension then you can elongate the hole for the motor pulley and make it into a slot using a largish round file. This means you can swing the motor through an arc to adjust tension.

Alternative method for much higher performance
You can massively improve the performance of the motor if you mount it using the motor plate. Position the motor plate such that the motor hangs outside the perimeter of the plinth. In this position you can run the belt round the outside of the platter rather than the sub-platter. This method allows the motor to operate at over 5 times the torque it would otherwise produce.
Manufacturers Note: The board must run at approximately 2.2V on DC200 (2 Ultra fast diodes will suffice)